Pick how you're putting it in. Each way is from the maker's manual.
Base with LATCH
Where it can go: Rear-facing only child restraint: never in front of an active airbag; the back seat is safest. Only on forward-facing vehicle seats. Rear center with lower anchors only if the vehicle maker approves it and the anchors are no more than 22 in. apart; otherwise use the seat belt or an outboard seat. No top tether is used.
1Park on level ground. For the recommended load leg install, press the release button under the base, pull the load leg out and place the base with the leg toward the front of the seat cushion (removing the floor mat is recommended).
2Lift the level adjust handle to extend the foot until the bubble on both level indicators is fully between the lines.
3Push the orange buttons, pull out the lower anchor connectors and clip them to the vehicle lower anchors, facing upright.
4Press firmly into the base (a rocking motion may help) until the webbing tightens and the tightness indicator turns green and stays green.
5Make sure the Anti-Rebound+ panel touches the vehicle seat back fully.
6Rotate the load leg extension until it shows fully green, then pull the two ends apart so the foot sits firmly on the floor with no red showing; recheck the bubble.
Check it before you drive
Base moves no more than 1 in. side-to-side or front-to-back at the belt path; anchor webbing is secure and untwisted.
Tightness indicator is green every time you use it.
Level bubble is fully within the lines, no partial bubble.
Load leg is secured, touches the floor and its angle indicator is green.
Store the load leg under the base when not in use.
Retold from UPPAbaby manual (PDF). Your vehicle's manual also says which seats have LATCH anchors. When in doubt, a certified child passenger safety technician can check your install.
The carrier on and off the base
Clicking it onto the base
1Lower the carrier onto the installed base until you hear a click.
2Pull up on the carry handle to check the carrier is locked on.
3Before driving, lock the carry handle in the 4th (rebound) position.
The maker warns: The carry handle must be locked in the 4th (rebound) position whenever the seat is used in the vehicle.
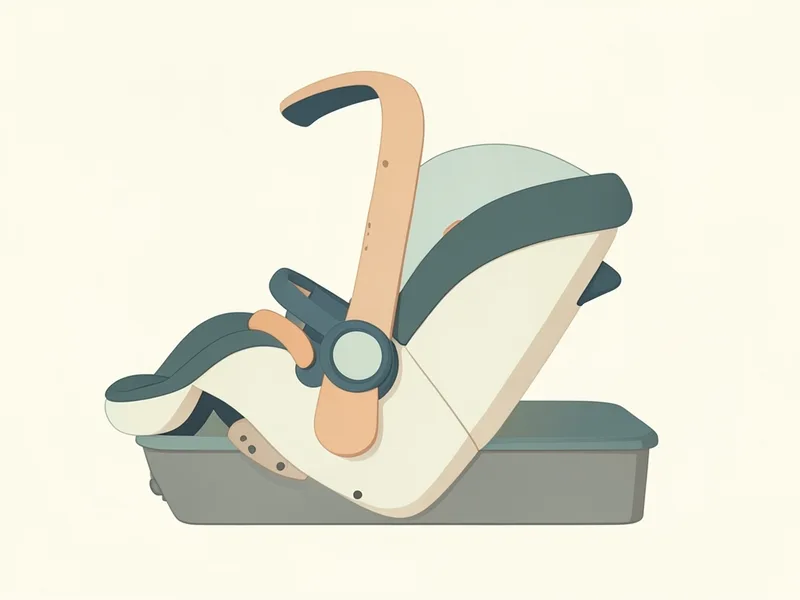
The Mesa Max base: Base with lower anchor connectors or vehicle belt, load leg, Anti-Rebound+ Panel.
What UPPAbaby says about its bases and carriers, for a second car or an older base.
A Mesa V3 carrier clicks into the original Mesa base and the Mesa V2 base, so an older spare base still works with the newer seat. UPPAbaby help article
The newborn insert
What UPPAbaby says about the insert
1Use the included infant insert for smaller babies between 4 and 11 lbs.
2Keep using it until your baby meets every fit check below without it.
3Harness straps sit at or slightly below the shoulders.
4The bottom of the headrest is at the shoulders or up to 1 inch above them, and the chest clip is at armpit level.
5The crotch buckle rests snugly against your baby with no gap; with the insert in, your baby should not sit on the buckle.
6Once all checks are met without the insert, you can remove it.
The maker warns: Harness pads are optional but must be removed when securing a preemie. Never use add-on products with this seat unless UPPAbaby has approved them.
Rear-facing only child restraint: never in front of an active airbag; the back seat is safest. Only on forward-facing vehicle seats. Rear center with lower anchors only if the vehicle maker approves it and the anchors are no more than 22 in. apart; otherwise use the seat belt or an outboard seat. No top tether is used.
How do I know the UPPAbaby Mesa Max is installed right?+
Base moves no more than 1 in. side-to-side or front-to-back at the belt path; anchor webbing is secure and untwisted. Tightness indicator is green every time you use it. Level bubble is fully within the lines, no partial bubble. Load leg is secured, touches the floor and its angle indicator is green. Store the load leg under the base when not in use.