Pick how you're putting it in. Each way is from the maker's manual.
No base, LATCH
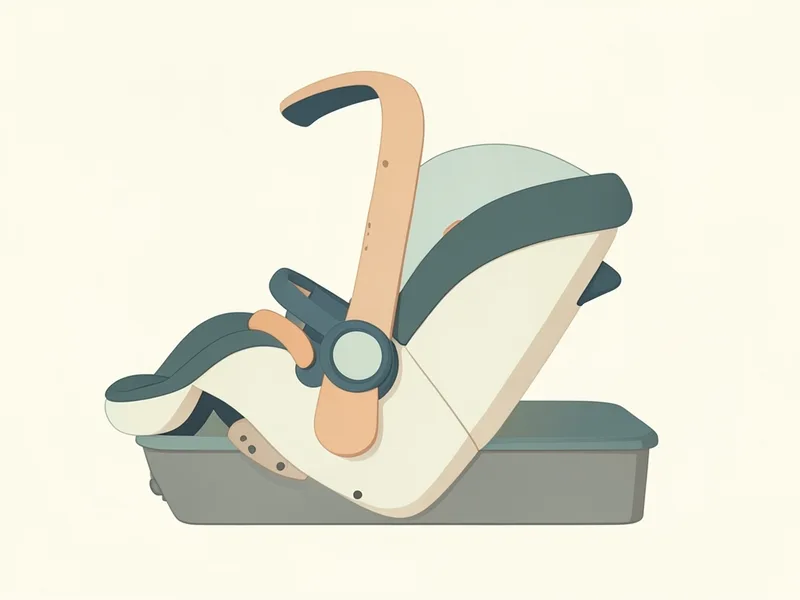
Where it can go: Rear-facing only, on a vehicle seat that faces forward (never side- or rear-facing vehicle seats). Never in a seating position with a frontal airbag unless the airbag is turned off. The manual says children are safer in the rear seats than the front. PIPA urbn has no base: it installs with its own built-in rigid latch or with the vehicle belt, and the manual says not to use it with a base.
1Clip the latch guides onto the vehicle's lower anchors to make installing easier.
2Rotate the carrier's rigid latch connectors down; this also lowers the recline bar that helps set the right angle.
3Place the carrier rear-facing on a forward-facing vehicle seat.
4Guide both connectors onto the vehicle's lower anchors and push firmly until they click.
5Check that the level line on the carrier label is as level as possible with the ground.
Check it before you drive
Pull firmly on the carrier and check that both connectors show green; if it moves freely side to side or an indicator is red, reattach and check again.
The blue line must be level with the ground.
A gap between the carrier and the vehicle seat back can be normal and is still a secure install; to close it you can make the vehicle seat back more upright or install with the lap/shoulder belt instead.
Using both the rigid latch and the vehicle belt is allowed, but the carrier must stay level.
Retold from Nuna manual (PDF). Your vehicle's manual also says which seats have LATCH anchors. When in doubt, a certified child passenger safety technician can check your install.
Key specs
Ways to install
3
Without the base
Yes
Carrier weight
7 lb
Child weight
4–30 lb
On a plane
Approved; the maker doesn't say about the base
How it attaches
No separate base: integrated pipaFIX rigid lower anchors in the shell, or vehicle seat belt; no detachable base.
The newborn insert
What Nuna says about the insert
1Use the head and body supports as needed for a snug fit on a small baby; the smaller head support piece can come out when your child outgrows it.
2To remove the head support, undo the hook-and-loop ends behind the seat fabric and pull its straps out through the harness slots.
3To remove the body support, unbuckle the harness and route the buckle and crotch strap through its bottom slot.
4The low birth weight pillow inside the body support slides out of its pocket.
The maker warns: The body support and the low birth weight pillow must be removed once your child reaches 11 lb. The head support straps can't share slots with the harness; use the head support only in the top two harness slot positions.
Rear-facing only, on a vehicle seat that faces forward (never side- or rear-facing vehicle seats). Never in a seating position with a frontal airbag unless the airbag is turned off. The manual says children are safer in the rear seats than the front. PIPA urbn has no base: it installs with its own built-in rigid latch or with the vehicle belt, and the manual says not to use it with a base.
How do I know the Nuna Pipa Urbn is installed right?+
Pull firmly on the carrier and check that both connectors show green; if it moves freely side to side or an indicator is red, reattach and check again. The blue line must be level with the ground. A gap between the carrier and the vehicle seat back can be normal and is still a secure install; to close it you can make the vehicle seat back more upright or install with the lap/shoulder belt instead. Using both the rigid latch and the vehicle belt is allowed, but the carrier must stay level.
When do I use or remove the Nuna Pipa Urbn infant insert?+
Use the head and body supports as needed for a snug fit on a small baby; the smaller head support piece can come out when your child outgrows it. To remove the head support, undo the hook-and-loop ends behind the seat fabric and pull its straps out through the harness slots.